3D Printing new printers
(November 2011 - Present day)
My 3D printing hobby all started with a kit of plastic pieces I bought at CCC in 2011 after staring at those promising Open Source hardware contraptions.
It took me almost a year to get it into a fully working printer capable of making parts that we're precise and strong enough to make new 3D printers. Lost a lot of time because for my first one I cut costs by not buying off the shelf board like ramps or rambo but DIY'ed everything using just an arduino, proto board, mosfets and some A4988's.
Don't regret this, as I learned a lot experimenting with electronics and doing a lot of prototyping, soldering, coding, hacking or nowadays just called 'making' at home on that first blue reprap. Finally had the hardware down. But slicing STL's into proper gcode turned out to be another hurdle back then. Nowadays it's super easy and plenty of super user friendly free slicers like Slic3r, Cura (my current favorite slicer), Repitier, ...
Way back in 2011 you had pretty much one free/open source option to convert STL into Gcode for your printer Skeinforge and it was super finicky and in constant development. Each release would introduce different bugs and quirks. The problem was a lot of features like flow rate, default extrusion width etc where either incomplete or had bugs or even worse sometimes they had unwanted side-effects on other parameters. All would work reasonably but for instance the flow was way off. You'd change some parameters and all of a sudden your printer would go bezerk due to some wrongly generated gcode file. Stuff like your machine plowing into the heated bed or just sitting still extruding in one spot happened all the time.
Thanks to the help of a friend from my college days Benjamin Schrauwen I managed to get an initial Skeinforge configuration tuned that worked good enough to get started. And a few months later the first release of Slic3r came out. Slic3r was way more user friendly and produced better gcode as well. After switching to slic3r and Cura I've never looked back at the big ball of mess that Skeinforge was ;)
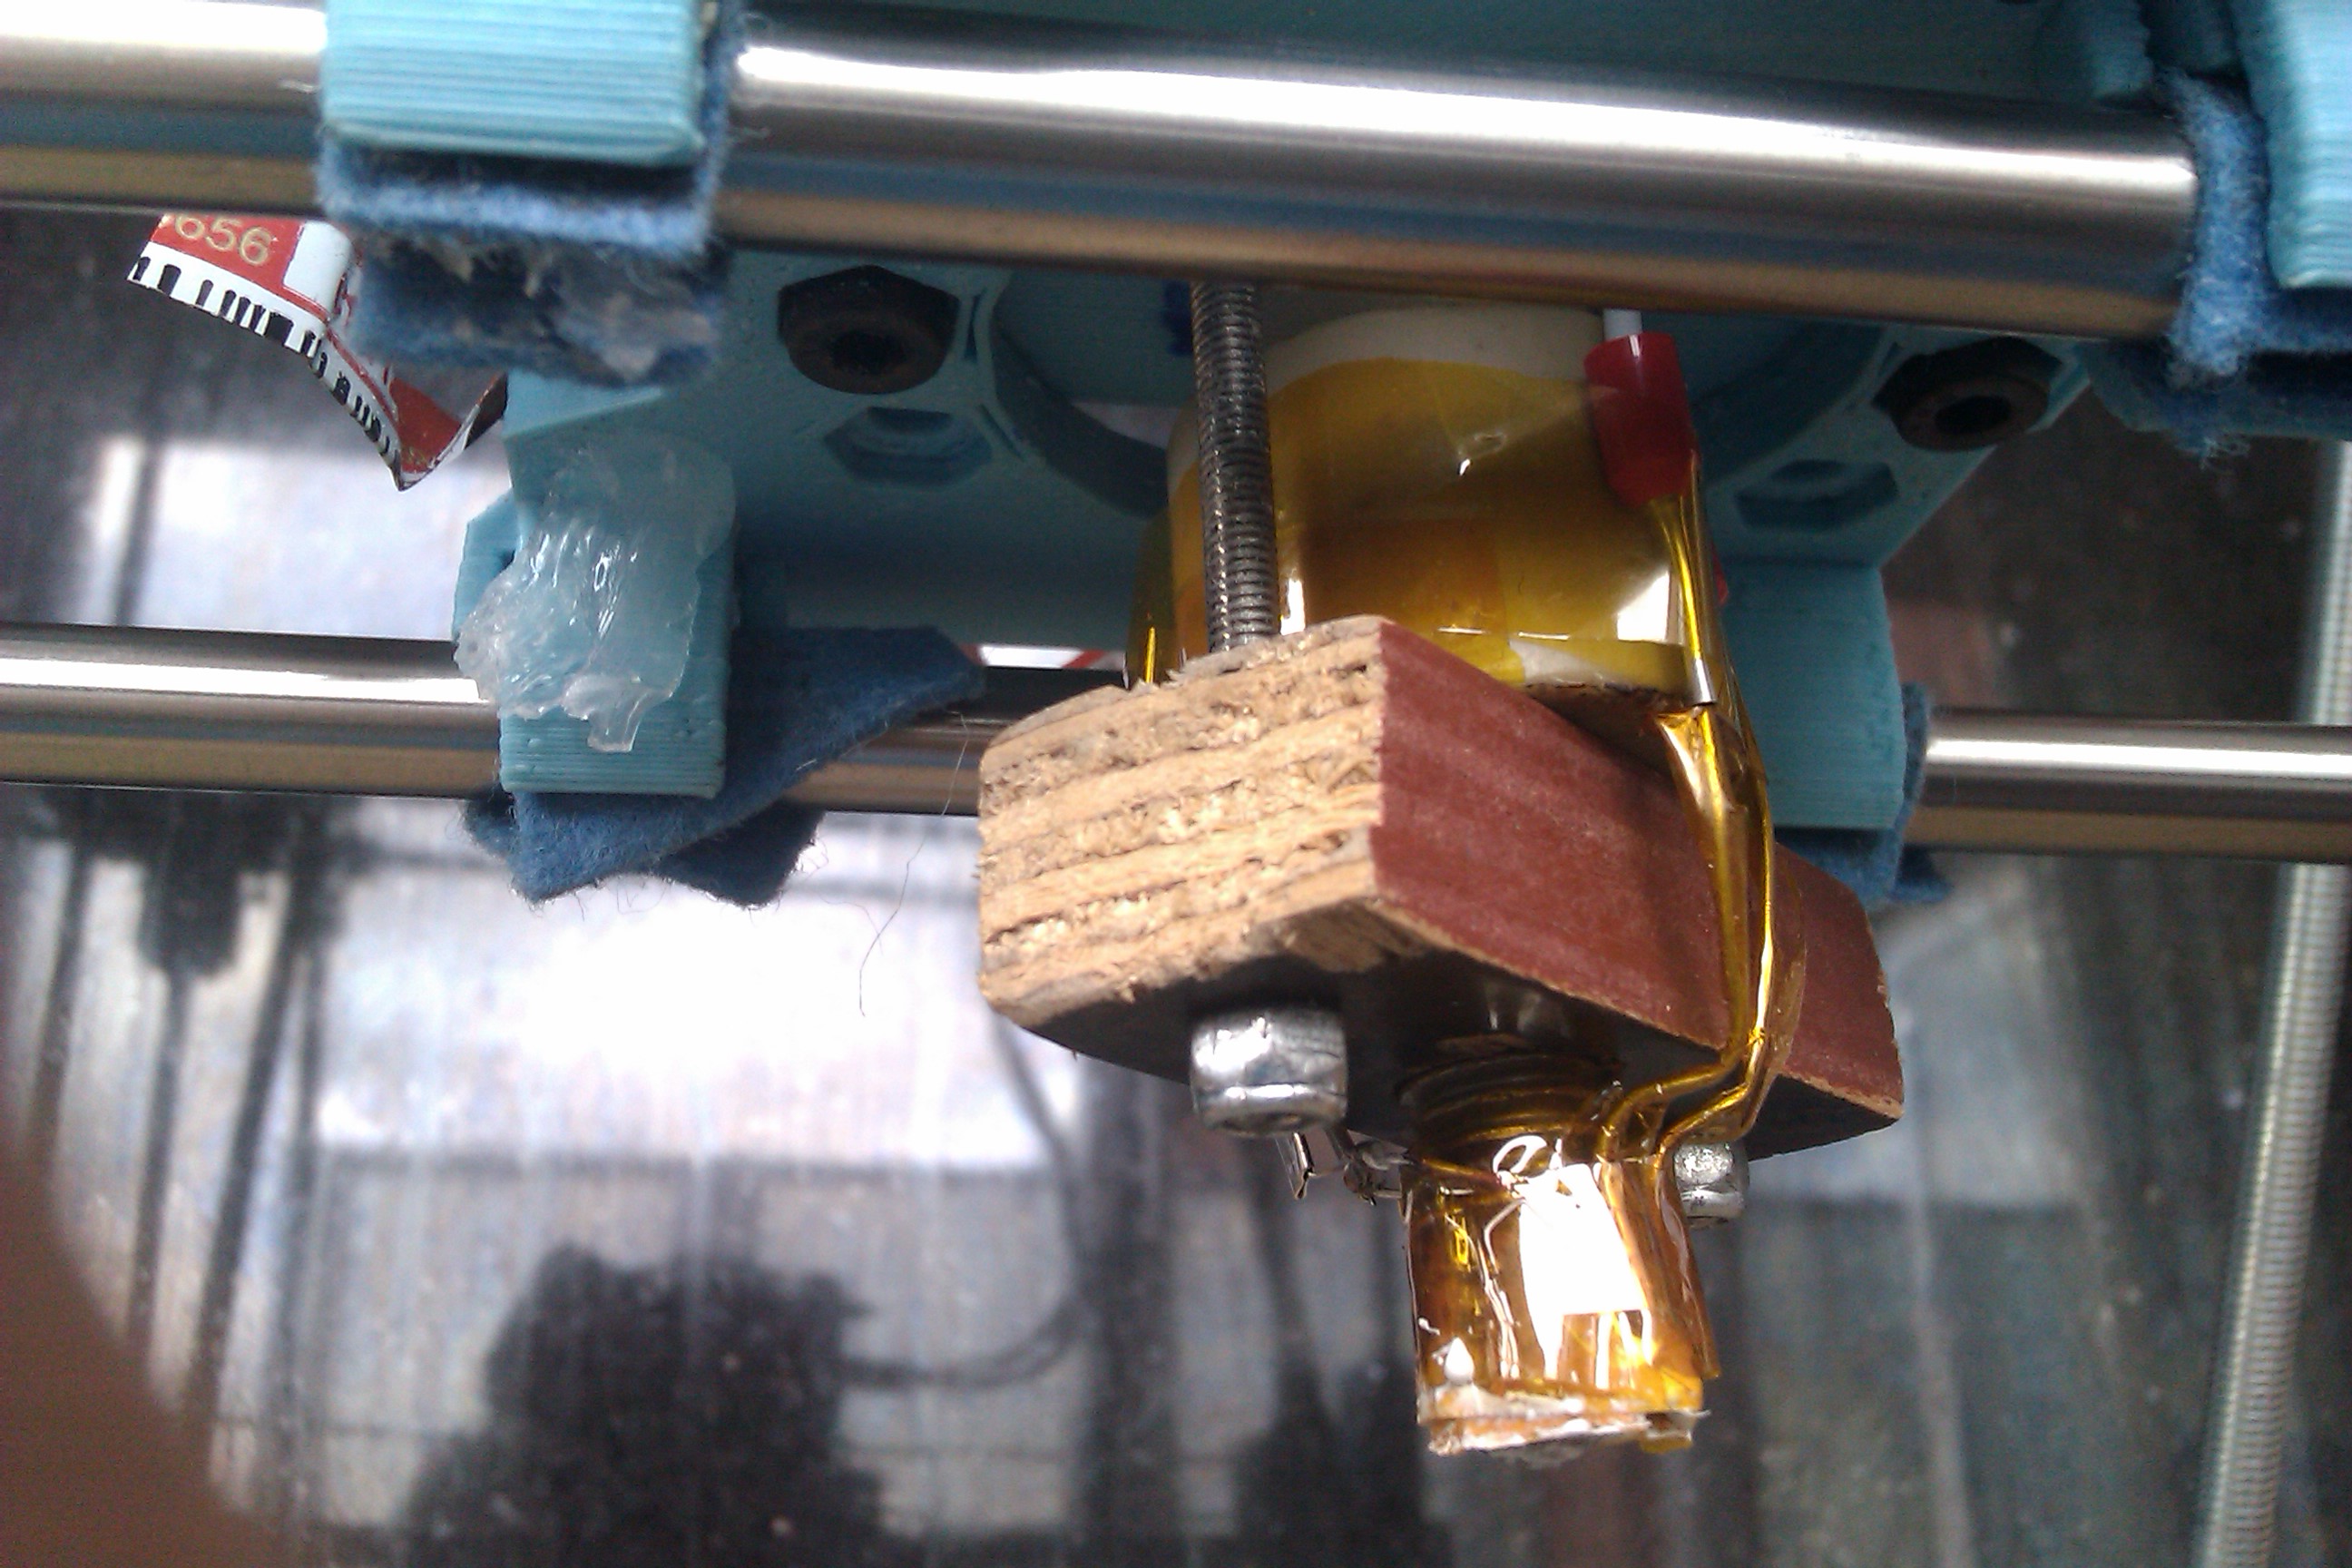
Once the slicing to gcode issues went away because the open source software setup was mature enough and my first printer was tuned to perfection it was game on. My hobby became experimenting and building various open source 3D printer designs. I found the sport of creating an entire new machine from scratch even more fun than the printing itself. Around 85% of the parts I've 3d printed since 2011 we're for constructing other 3D printers ;). Ow yeah my first hotend was also with the finicky nichrome wire that you pretty much fully diy'ed using a bolt and wire that measured 6.5ohm. It worked but wasn't verry reliable. A bit later J-head and even later on the full metal hotends with a proper heating cartridge came to the markets. Together with great improvements on the software slicers this is what made FDM 3D printing a lot more reliable and accessable to the masses. Comparison in 2011 you paid around 20$ just for the parts of a nichrome wire based hotend and it would last you about 6 months before going up in flames. Around 2013 the peek based j-head hotends came, were affordable at around 35$ and they last for years even with heavy usage (I've got a j-head from 2013 still running on a modified prusa i2 and only needed to change the heating cartridge once in 2016). Nowadays you can buy even more sturdy full metal hotends for less than 10$ including shipping, and they can go up to 265 degrees celsius easily, it's madness ;).
My first fully homebuilt 3D printers
(2013)
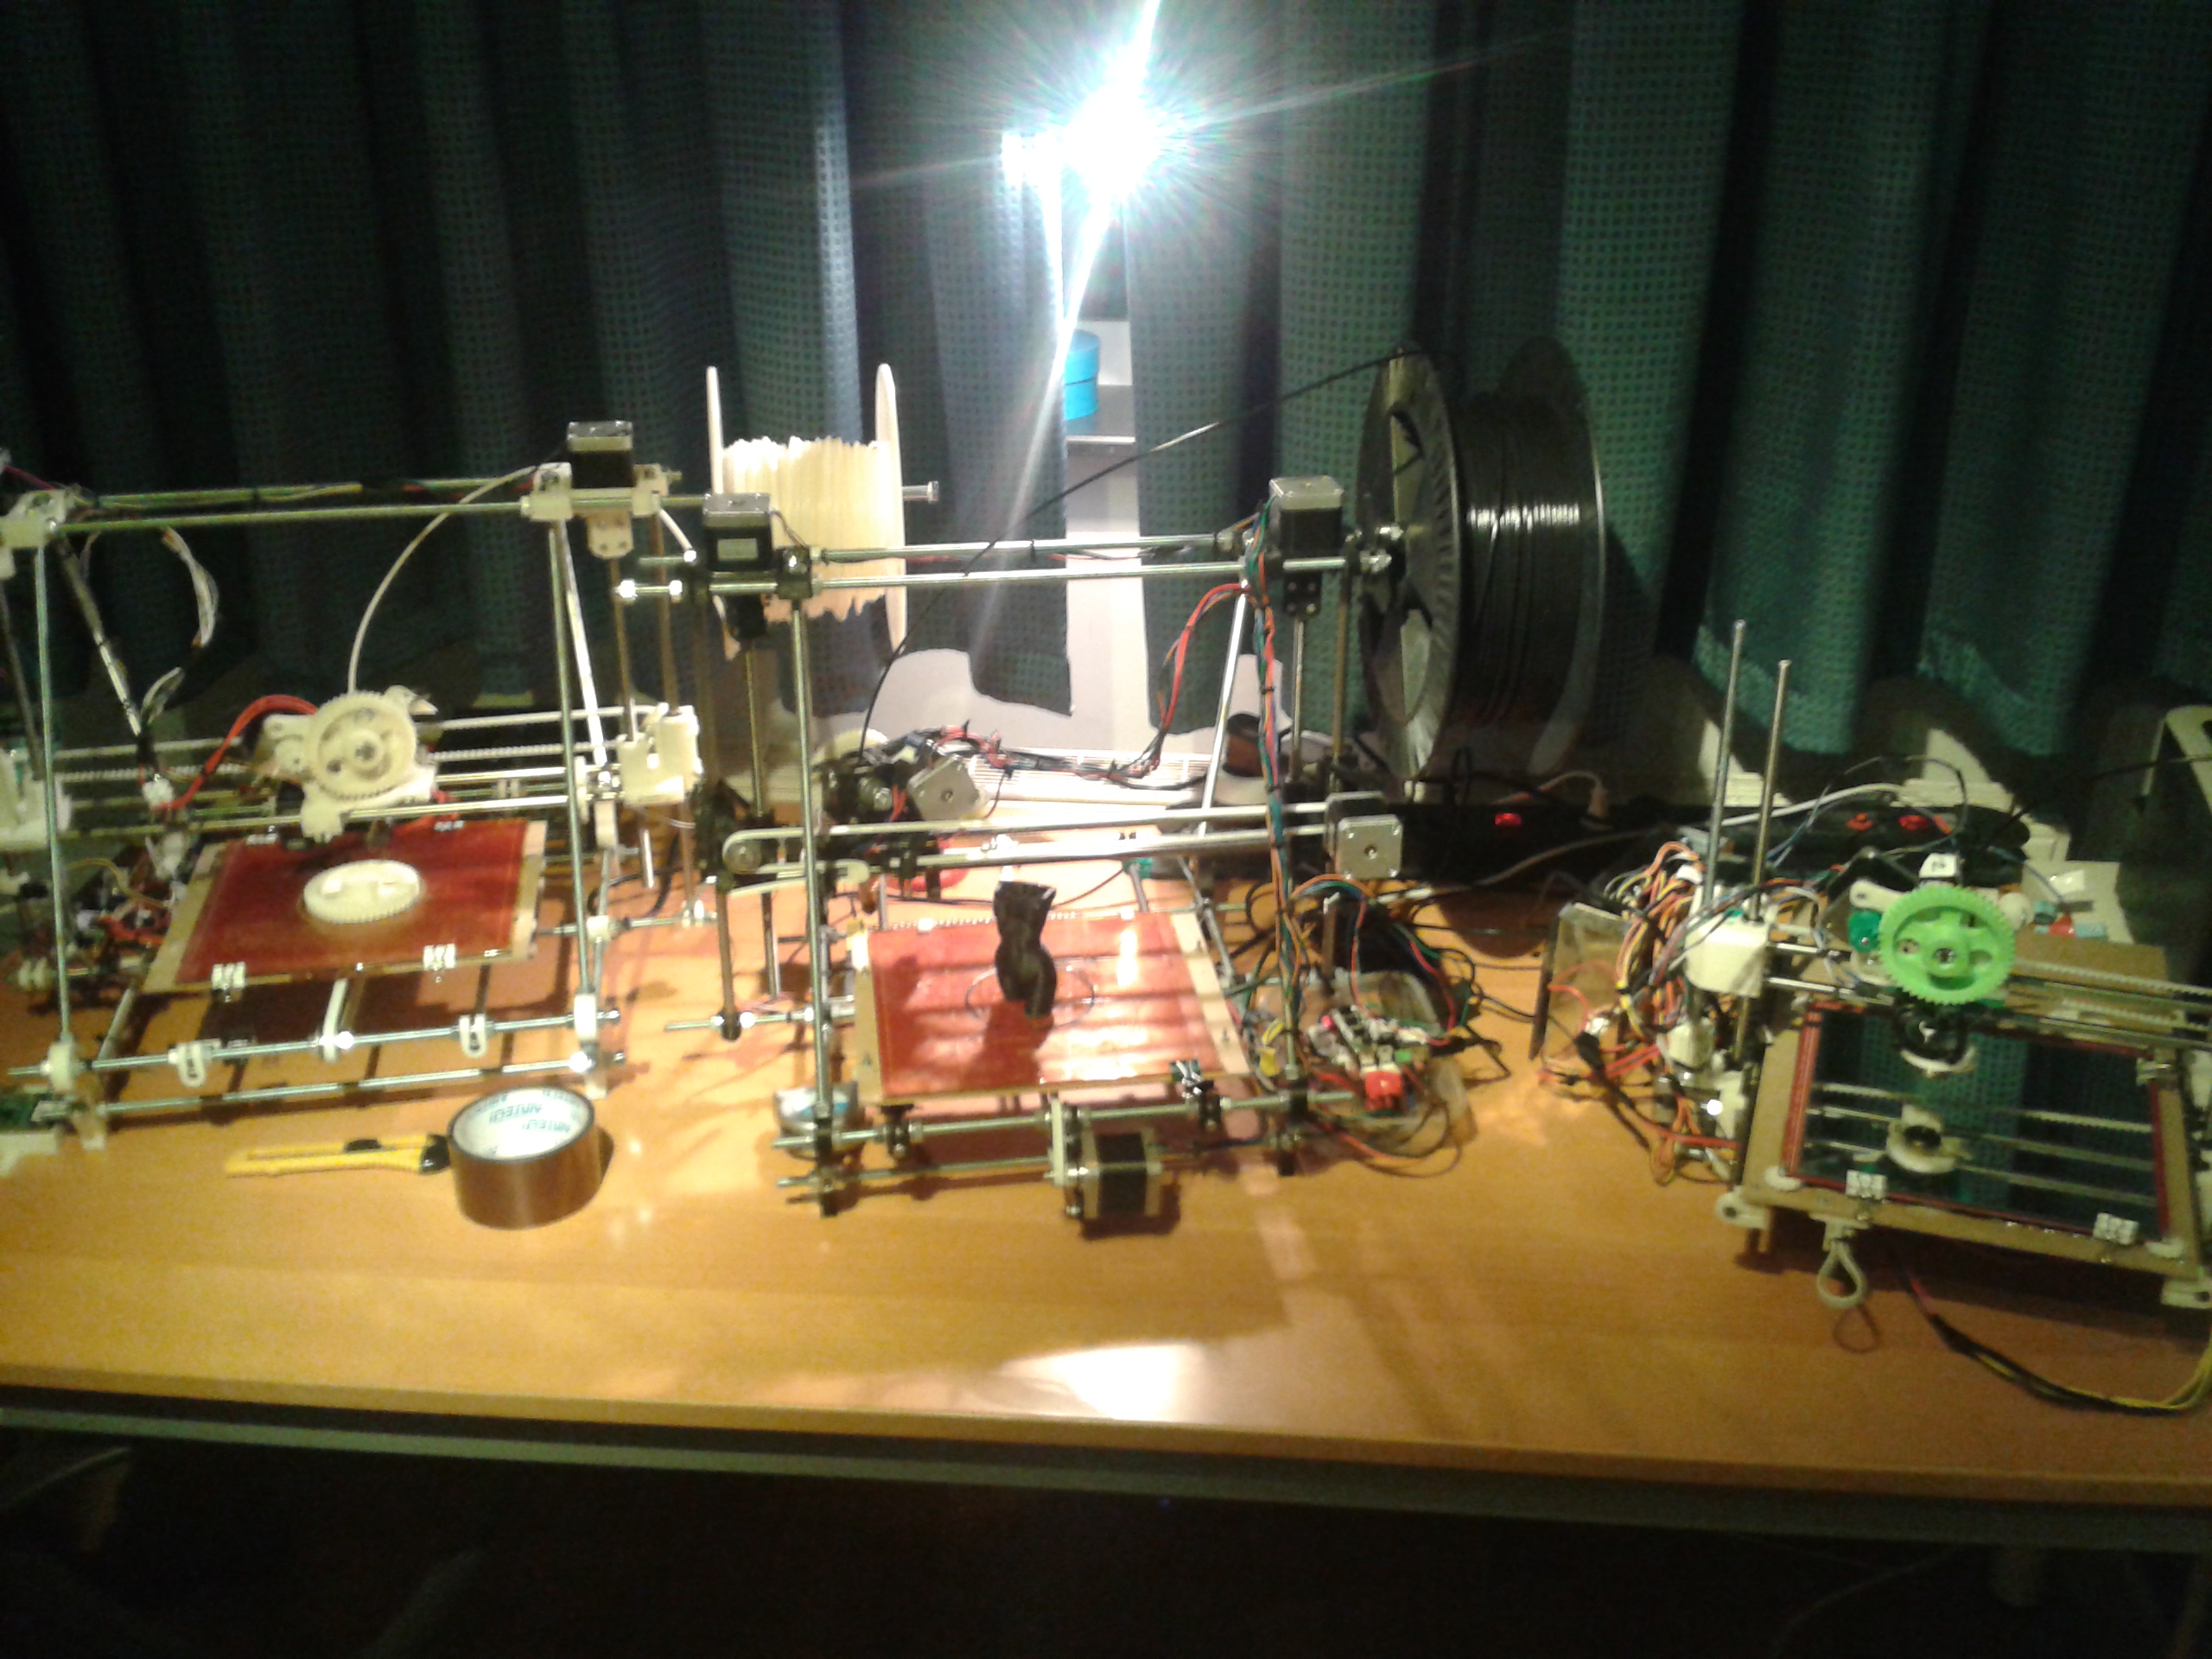
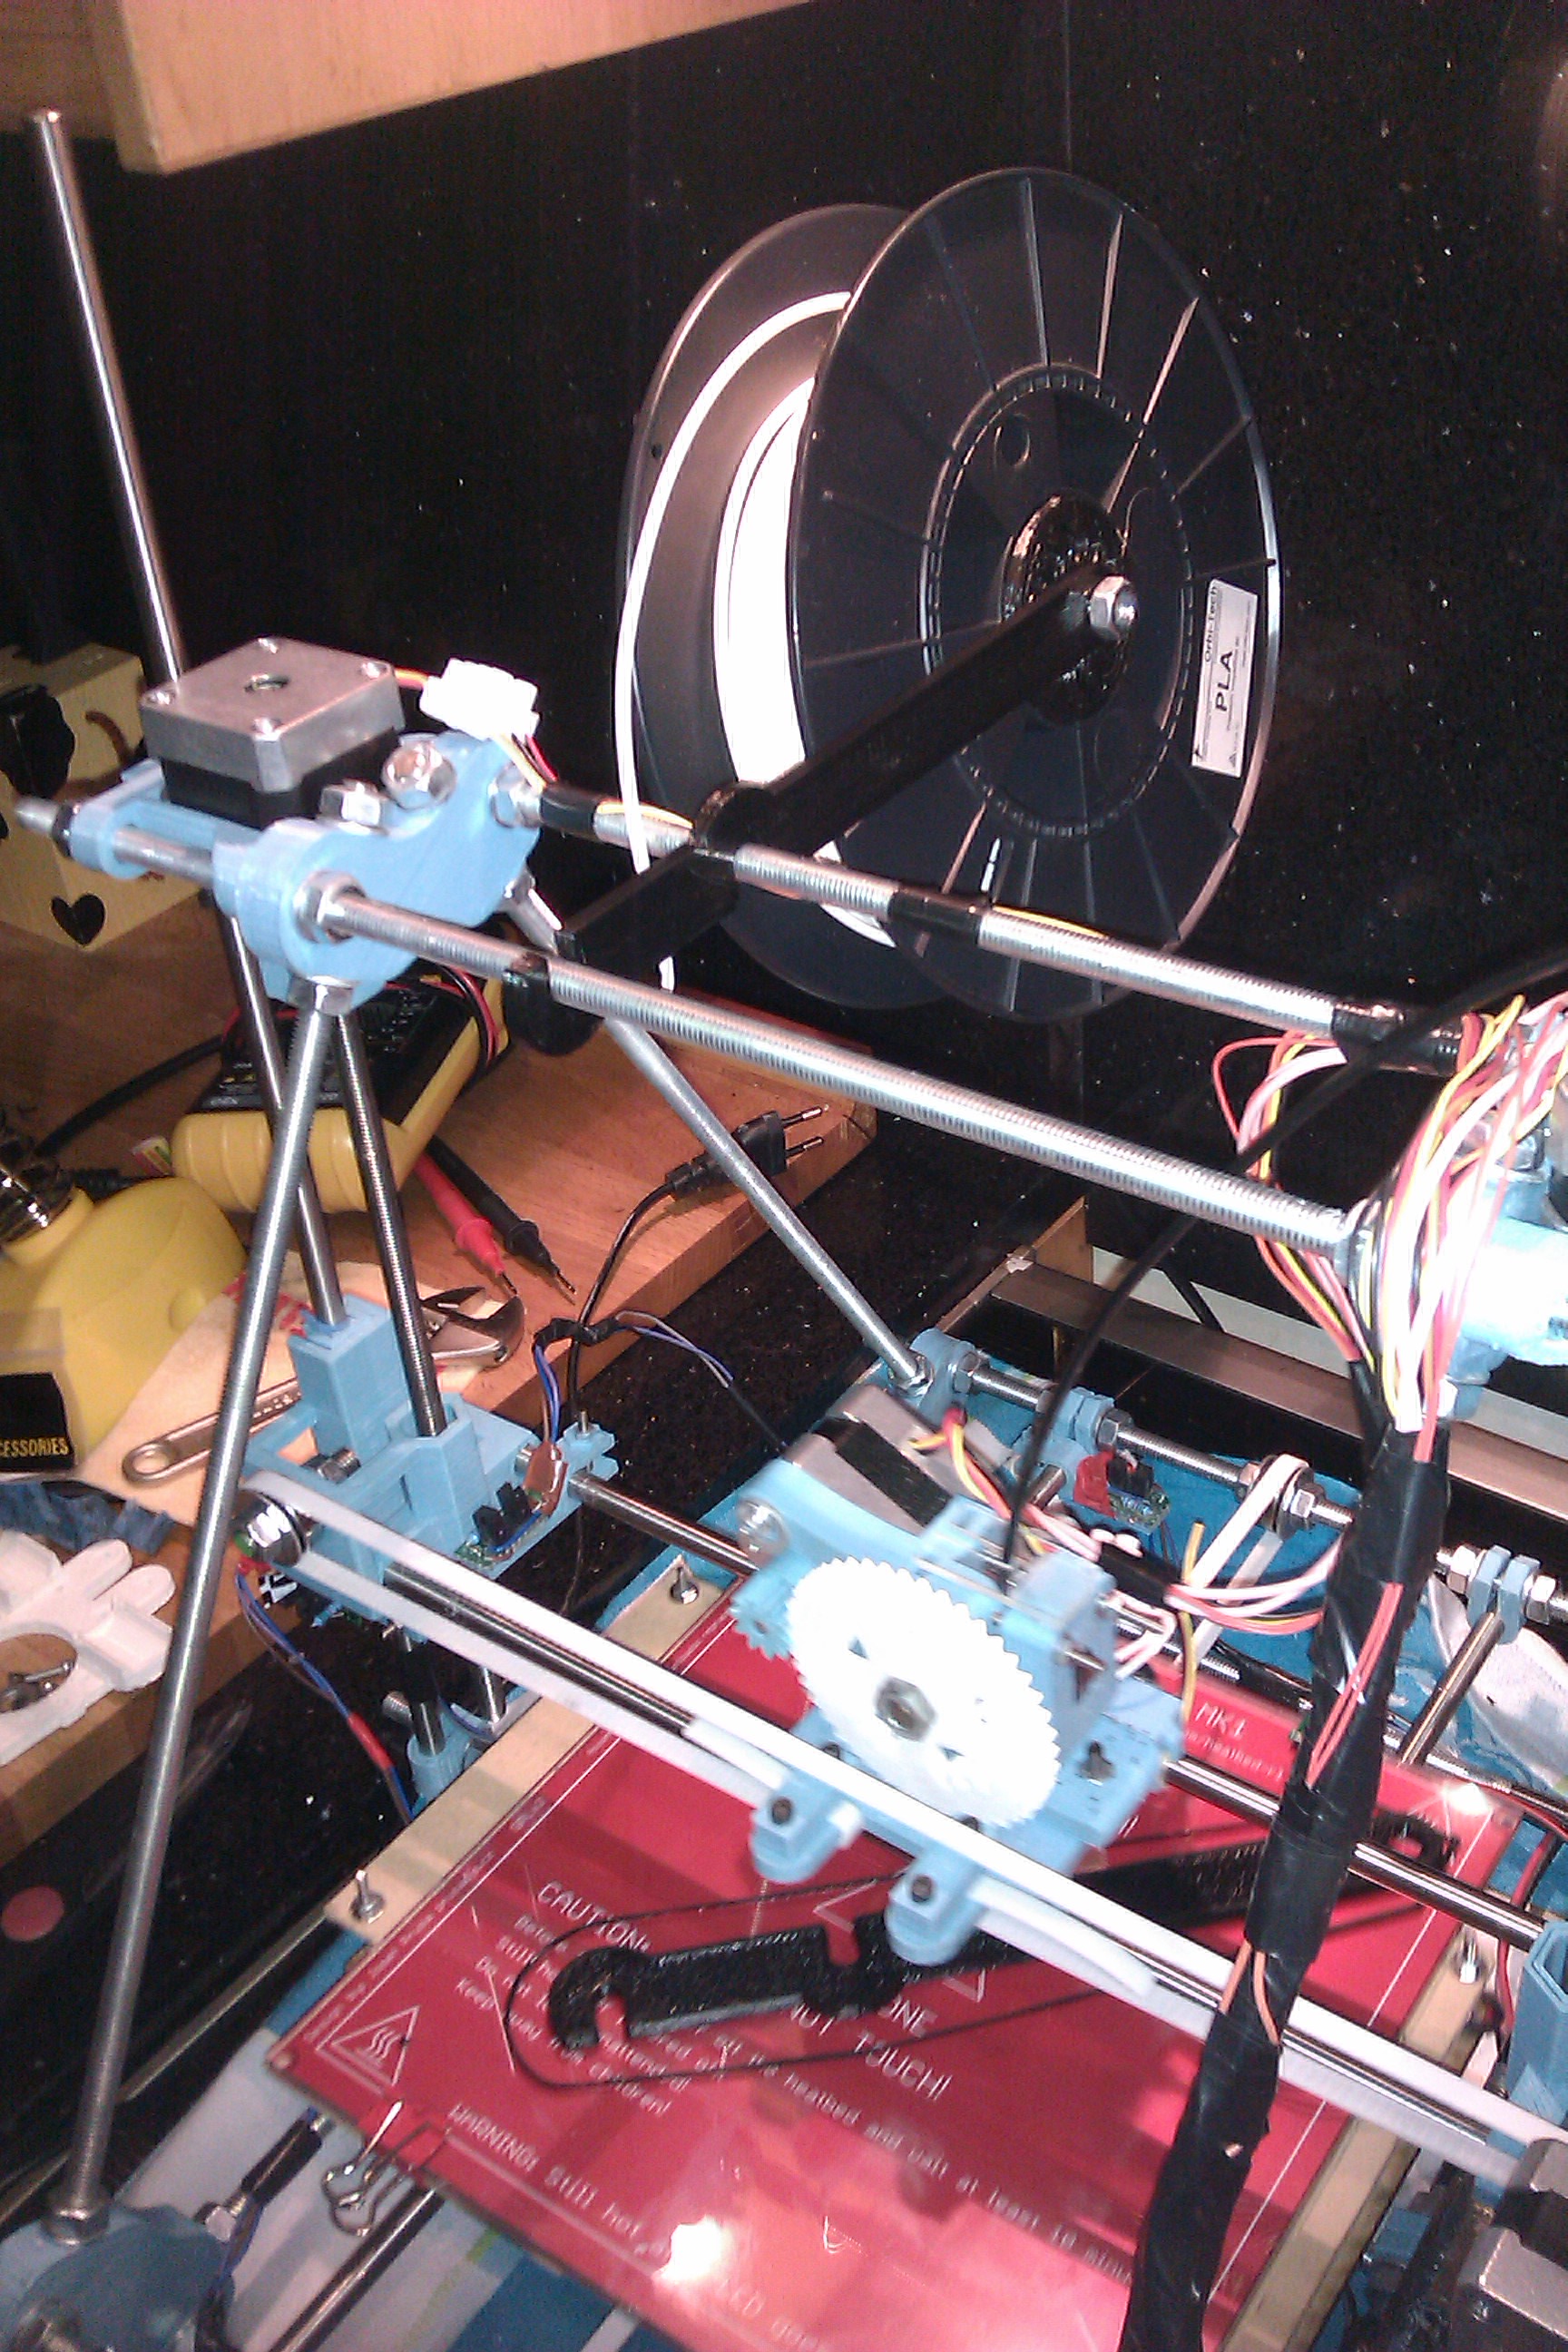
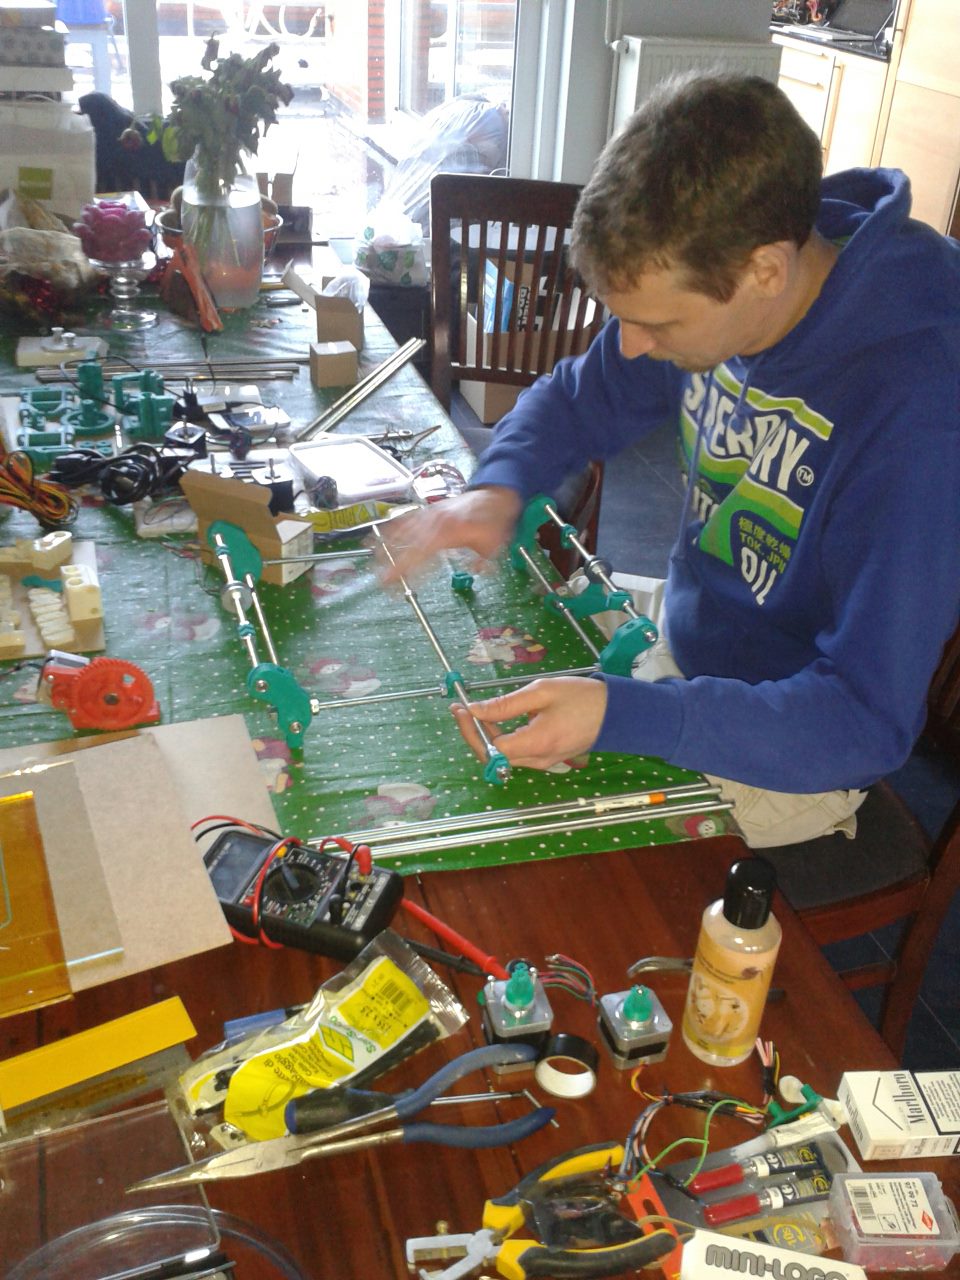
Using my first blue reprap printer with the dodgy felt tip bearings and nichrome wire hotend I created that black one you see in the middle. It was improved, had better lm8uu bearings, and printed in way better quality. From there on I started printing way more parts and created the other 2 on the left and right. But it really became reliable once I switched the hotend to a peek based j-head with 5watt resistor as heating element.
The original blue reprap from kit bought on CCC I sold a bit later once my second 3D printer (the black one) was up and running to Fabrice Zander who uses it mostly for his Quad Copter hobby to print new Drone parts. The black and white prusa i2 had many iterations (2 on the left in the picture) and gave the best looking printed results. The right one was built but I never got it printing nicely enough to be able to sell parts from it due to z-wobble issues and a hotend that was failing on me constantly. It was later dissassembled for it's parts and built into another frame: my foldable reprap contraption called Suitcase Bot or BeeBot as I named it in 2015.
With those 2 custom prusa i2 incarnations I pretty much printed about 12 new 3D printers and sold them all for a small profit. In the end I didn't make much money but I did have 3 working 3D printers fully calibrated at home and have enough spare parts to keep them running to this day in 2020. I still have some steppers, hot-ends and other parts lingering around and kept the 2 best printing printers. Nowadays though it's more like a tool. I don't print every day but sometimes when I need to prototype something I'll fire up my latest incarnation, a sweet looking Prusa i3 mark II clone with parts printed with abs that is glow in the dark just for that extra 'geek coolness' factor ;).
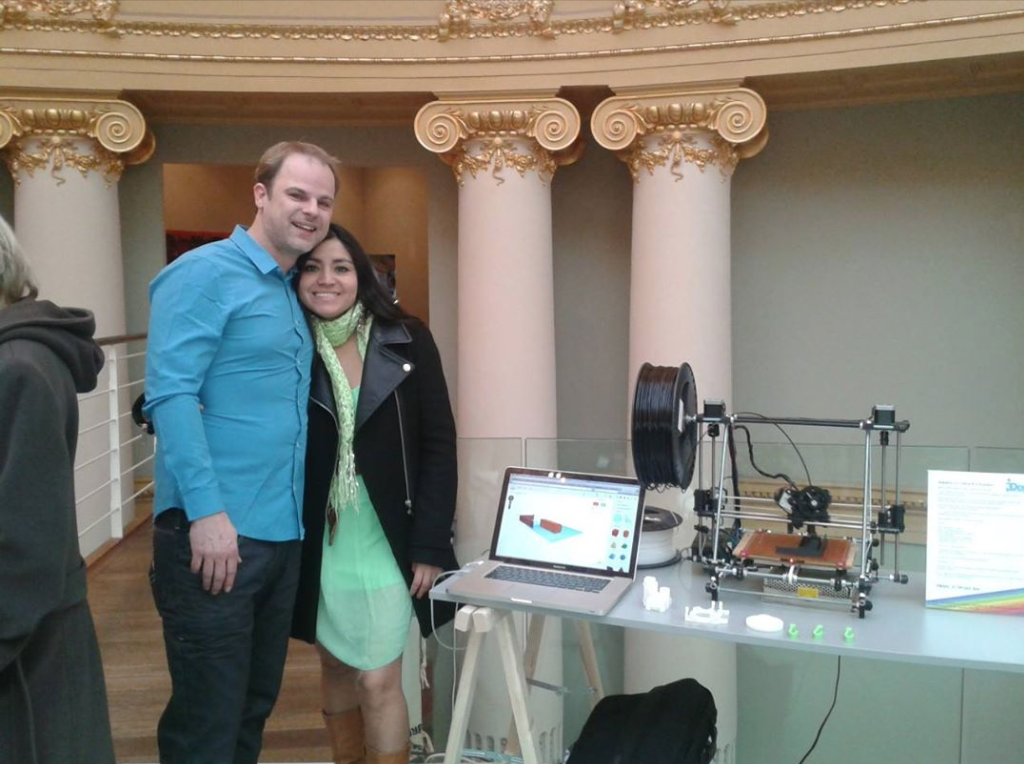
In the picture that's me and Carmen on the first day presenting a kit to buy or a workshop to build your own. The workshops turned out to be the most popular. But they we're also a lot harder to prepare for and my kit was good quality but assembling it in 1 day turned out to be quite a challenge. In two days it was a breeze though but that just didn't advertise as well.
3D printer workshops
(2013-2014)
Gave a few workshops for people to come over and build a 3D printer for themselves during a weekend. It took me about 2 weeks to prepare having all parts printed by having my trusty repraps printing around the clock. And luckily I also had set up enough stock of steppers and parts thanks to upcoming of aliexpress at the time it was affordable. The cool thing was I was able to give a workshop and have the people go home with a 3D printer that was at that time priced about the same as a kit.
The 3d printer market was however evolving super quickly and prices went down fast, making the workshops not viable as a business when also calculating in all the preparation work necessary.
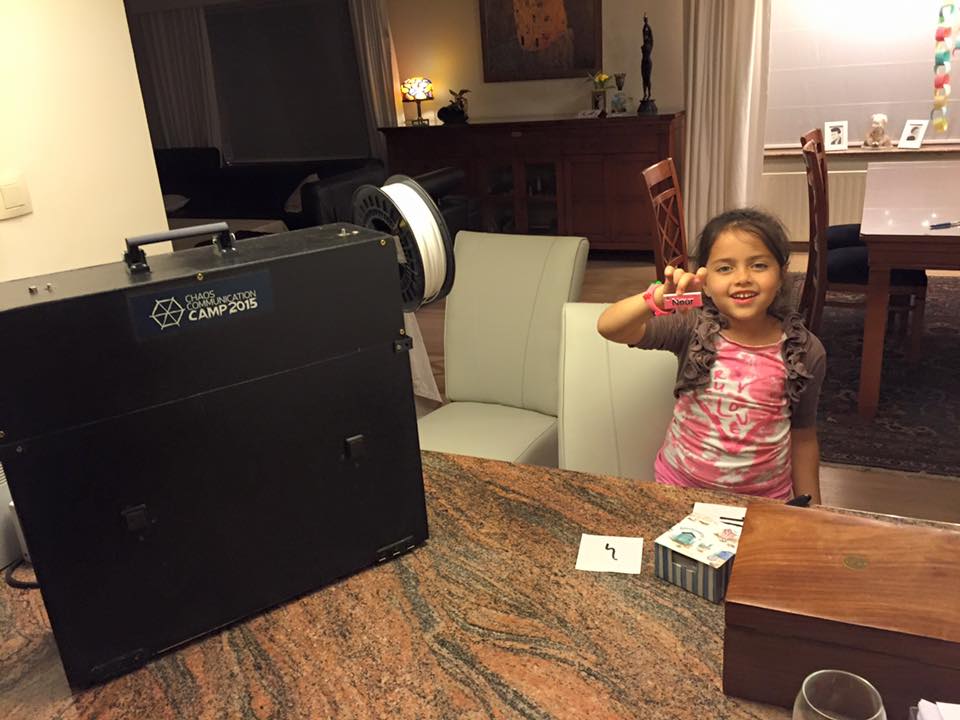
Built a foldable frame with mdf wood for a 3D printer. That way I could go to the hackers conferences with a suitcase that was by itself a 3D printer (inspiration Ben Heck show had a foldable printer, but I made mine differently). However due to time constraints and a lot of stress in 2015 I didn't get it to a polished finished project at CCC 2015. During 2016 got it nicely finished+callibrated and it prints pretty well now layers of 0.1mm nozzle is 0.4mm. However the aesthetics are not up to my expectations (basically the paint job sucks) and I might revisit the concept somewhere in the future. It folds nicely into a suitcase and prints well when unfolded. One thing that needs improving is making the side panels detachable instead of using hinges. The reason is when it's unfolded now it takes too much desk space compared to a normal i2 or i3.
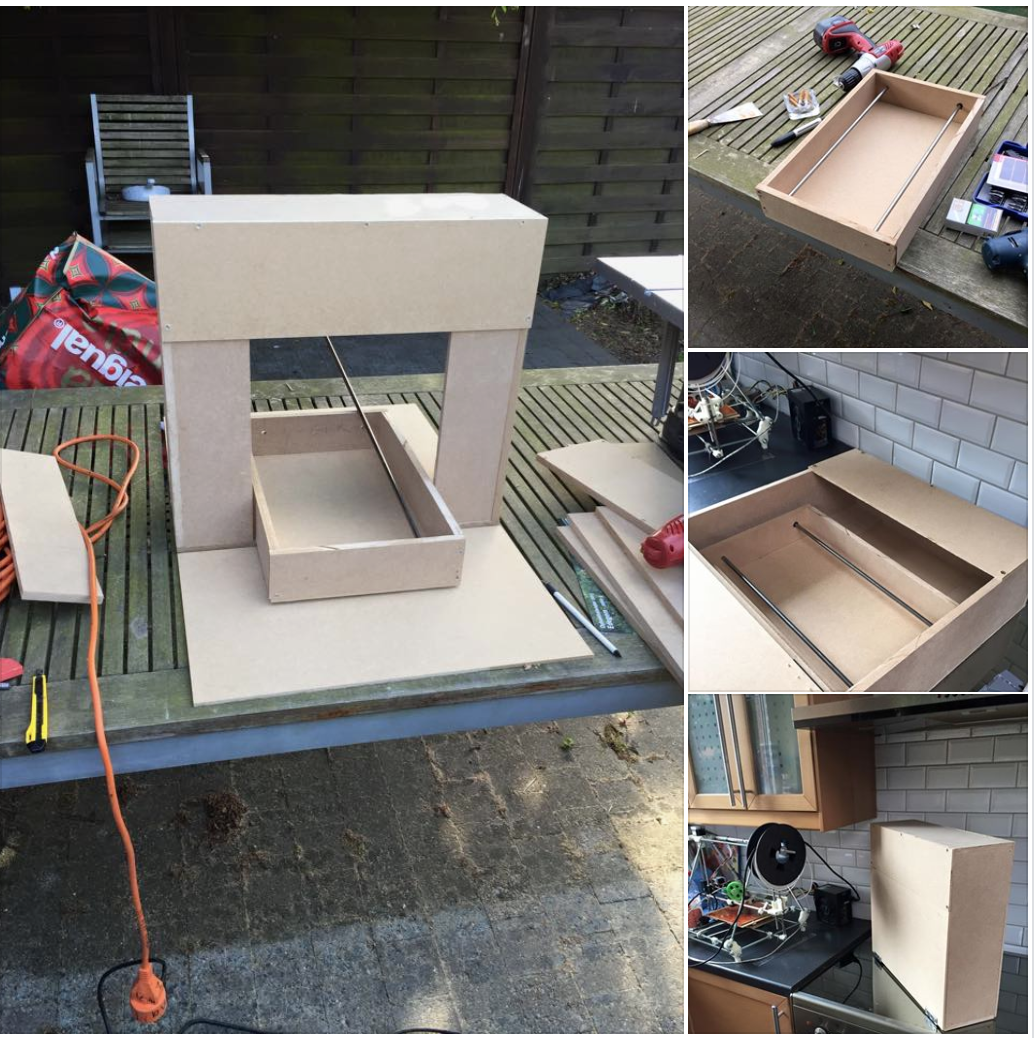 First did a quick testfit of the mdf panels. And then just screwed them together.
In bottom right you can see what it looks like folded, It's a suitcase ;).
First did a quick testfit of the mdf panels. And then just screwed them together.
In bottom right you can see what it looks like folded, It's a suitcase ;).
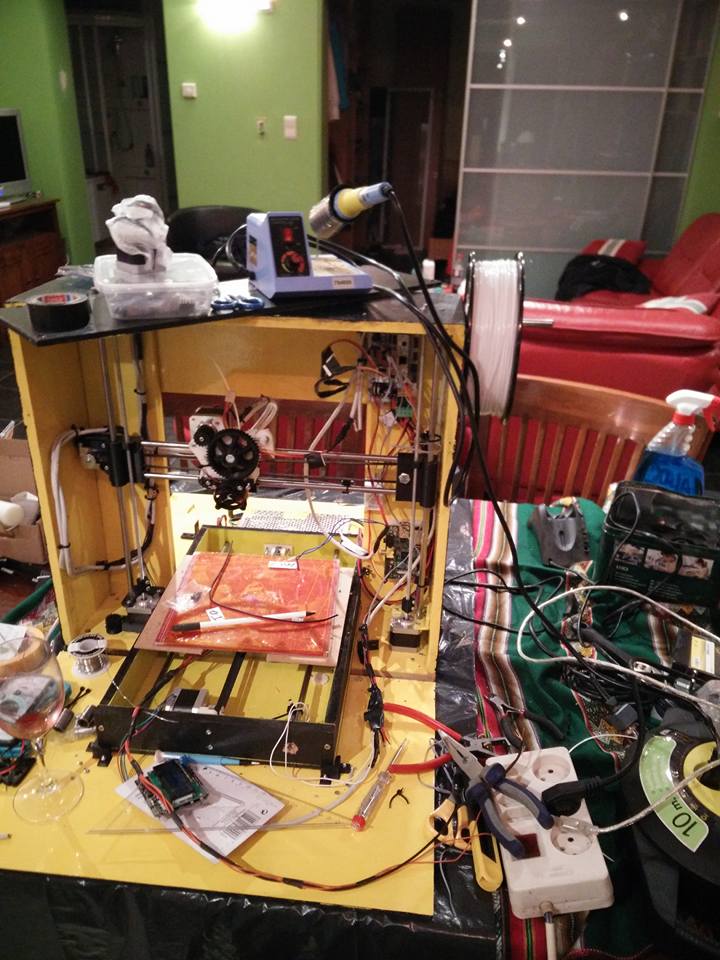 Adding all the electronics to make it work.
 First callibration cube print
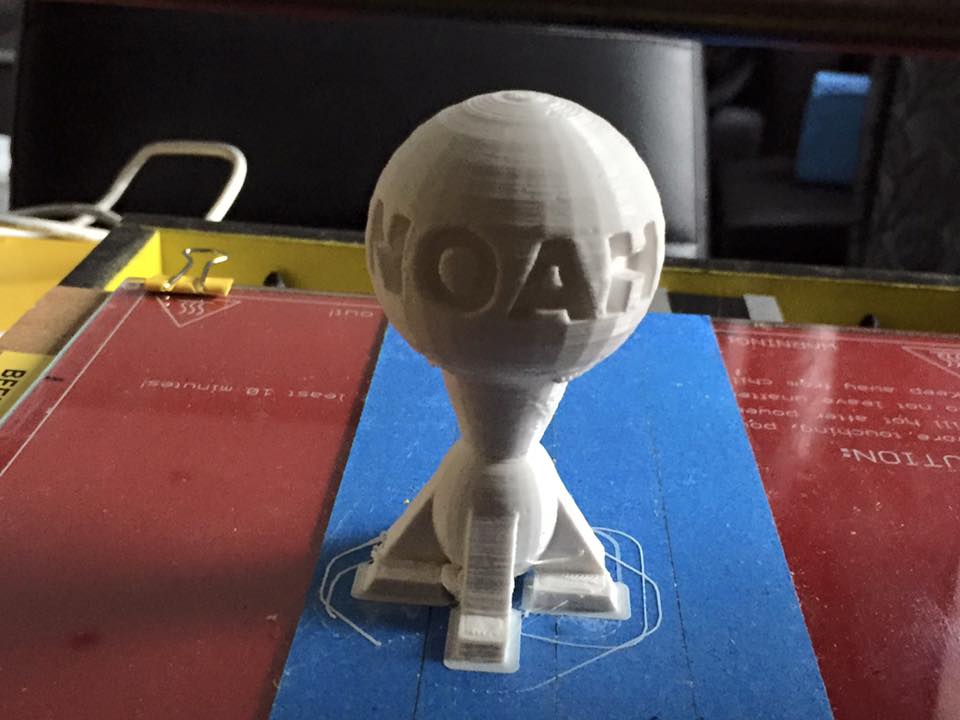 First print after callibration, a small rocket toy for Noah
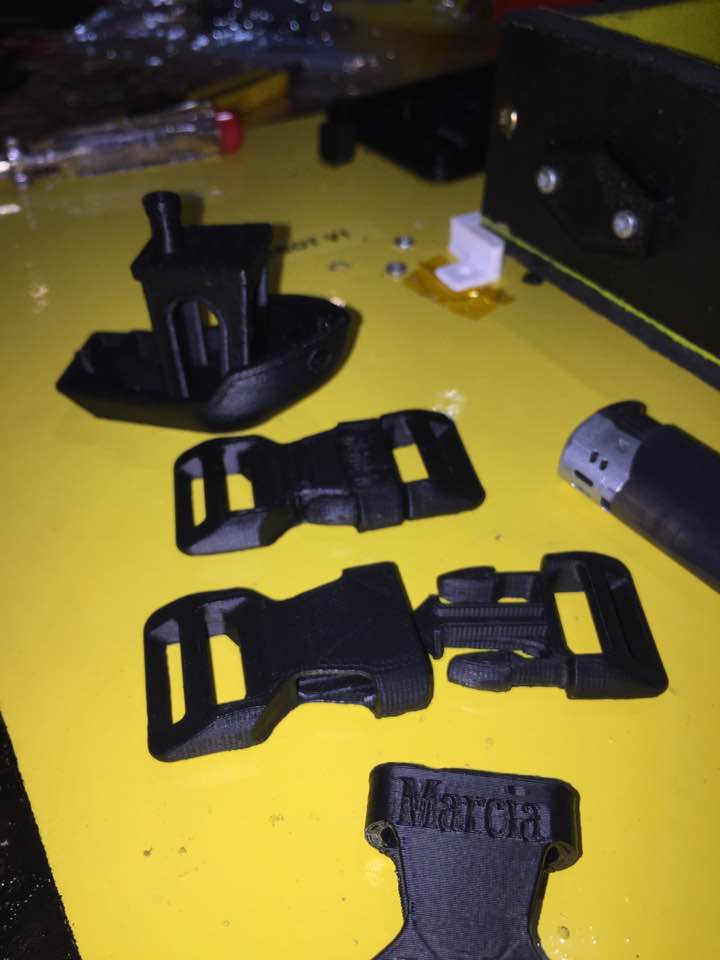 More callibration prints done like the benchy and some belt clips.
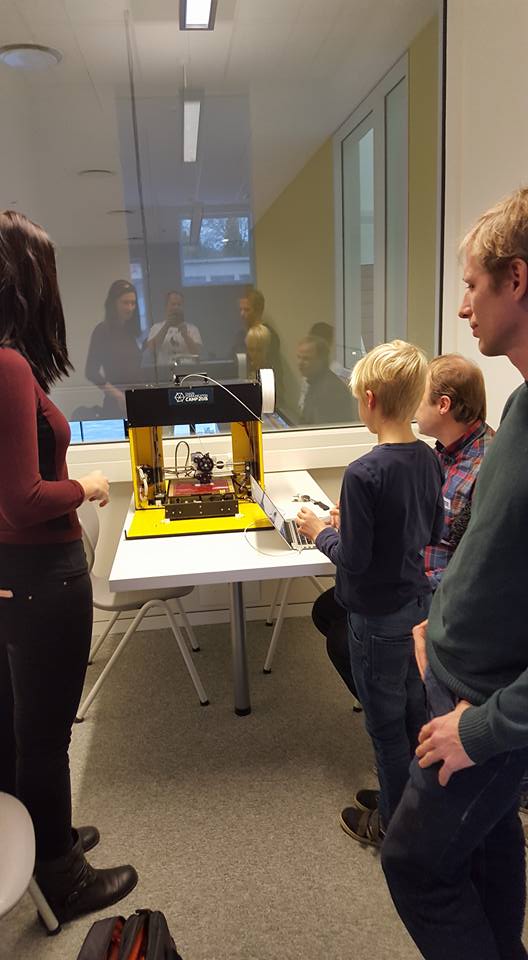 Printer at coderdojo. Wires are still messy and need cablewrap.
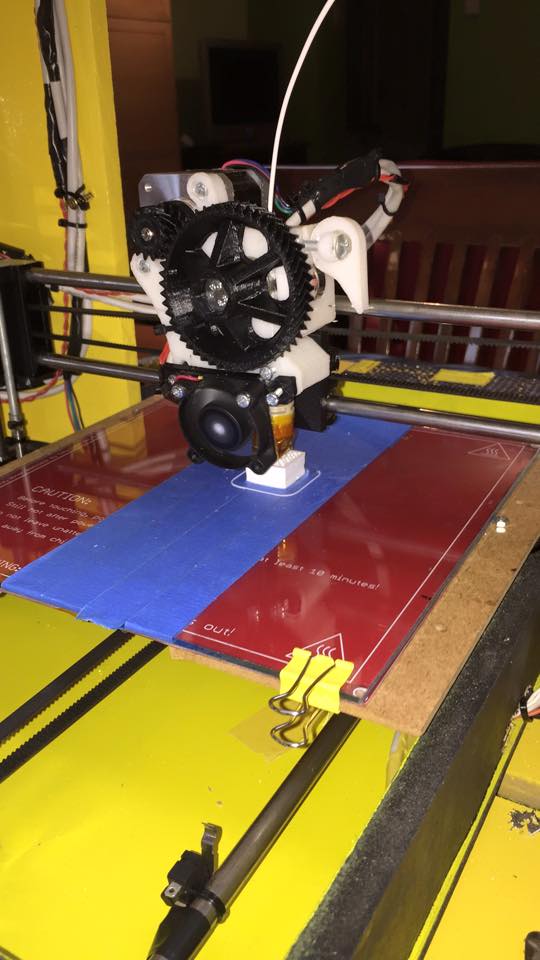
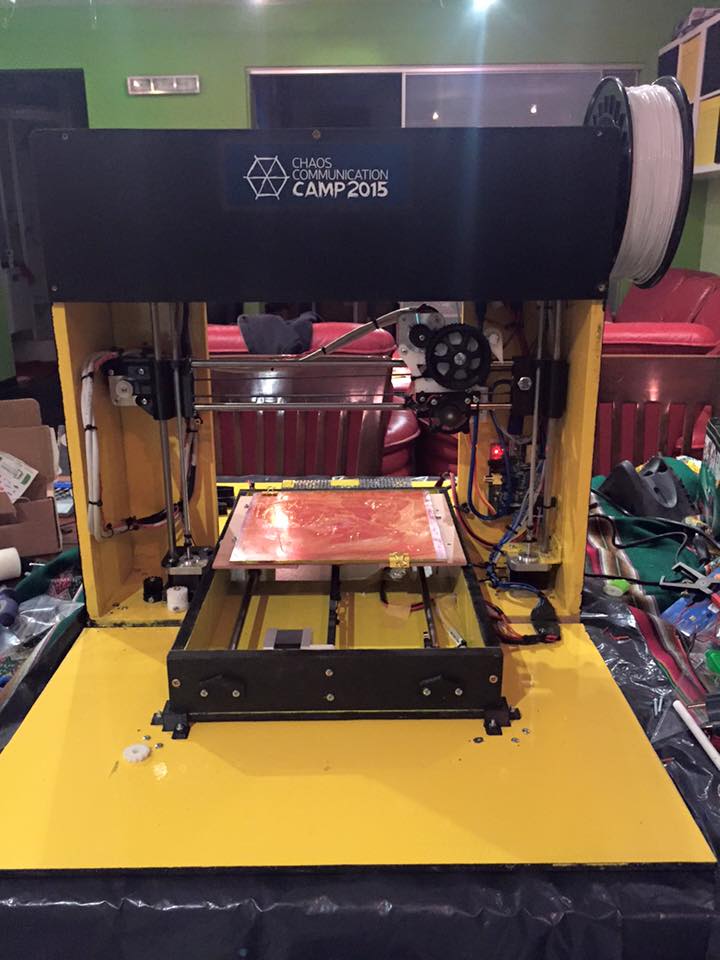 Close up of finished BeeBot 3D printer. I also added a raspberry pi with Octoprint to allow uploading stl's over wifi. I first had a bluetooth setup but it had issues with keeping up when printing fast it would frequently pause waiting for data to be available on bluetooth. Switching to octoprint + pi all that went away and then it started to print buttersmooth.
BeeBot folded and ready to be carried. Before I forget Deepak Mehta printed the handle to go on the top for me with PLA during CCC 2015. All the other parts I had printed myself in abs. But the handle was something I didn't have time for before going to CCC (as well as the paint job was not finished). The handle makes it look way cooler. Thanks again Deepak!
Paintjob looks good on photo but could have been done way better. Might revisit this project in the future. From a technical standpoint it does fold well and prints like a charm too.
Prusa i3 mark 2 clone
Did a clone like Tom's dolly. But used better heatbed and proper leadscrews to end up with a real proper and sturdy 3D printer. Also used an actual aluminium frame not some wood board. Used proper cable wraps and printed all parts just like the original mk2 but I used glow in the dark fillament for extra geek/coolness factor ;). It looks great and prints great.
... pictures soon...
Assembled this new i3 mark 2 clone live at WTH 2016 for fun. And it's now my 3D printer/workhorse that I use the most. It's got pinda and auto bed leveling, 0.4 mm nozzle. Heated bed with proper mosfets. For now it still runs ramps with latest marlin but will upgrade it to a 32bit board soon.